General Growing Information for Cannabis Sativa L.
Marijuana – Hashish – Charas – Dagga – Ganja – Mary Jane – Weed – Puff – Grass – Herb – Flower – Pot

A piece of advice: prepare yourself well before you start growing. There is an awful lot of information on – how to – available on the internet. There are also excellent instruction books for every type of growth such as from scholars Ed Rosenthal and Jorge Cervantes, the godfathers of Cannabis growth.
Seed
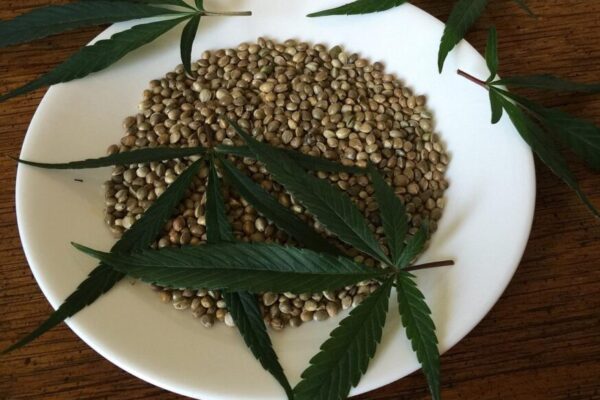
Everything starts with purchasing the right seeds. If you prefer an active effect when you smoke, choose a sativa dominant strain, but if you prefer a more passive effect, then opt for indica dominant strains. Or if you are looking for a combination of both, choose a (completely) hybrid strain that is a combination of indica and sativa. Hybrids often offer the good of both subspecies united in one; the best of both worlds so to speak.
Nowadays there are hundreds, if not thousands, of varieties to choose from with over 90% of them being hybrids.
As a novice grower, first try out a few varieties that are relatively inexpensive to purchase. If you do encounter some setbacks during growth, then at least you have not made an expensive investment in seed. The good thing though is that you will learn something new with every new grow!

How to germinate your seeds
If you scatter the seeds (outside) just randomly, you can’t really expect that all seeds will germinate without any problems. As is the case with all other seeds in nature, some will be eaten by birds, mice, rabbits or other animals. Some of it just rotted away probably. So..that’s not the way.
We believe the method below works best.
- Due to the hard outer shell of the seeds, it is advisable to germinate them in a glass of (mineral)water. The seeds float first; by -after a day- tapping them lightly, they sink to the bottom. The purpose of soaking in water is to soften the hard outer shell of the seed by absorbing water, so that the germ has a chance to break through the outer shell of the seed. The speed at which this happens is not the same for every strain of cannabis seed. For many strains 2-3 days is enough, but for some, again, depending on which strain, it may take a little longer, sometimes even up to 5 days!
- Preferably, use mineral water (tap water sometimes contains chlorine compounds).
- Germinate at a temperature of around 22-24 degrees Celsius (24/7).
- Put the seeds away in the dark.
- If you see the seeds sprouting, a white sprout becomes visible, then it is time to put them in a pot.
- The germination rate of cannabis seeds is generally above 95%. In other words, one or more seeds may not hatch. That is not due to the quality of the seeds because – just like as it is in nature – there is no guarantee that 100% of the seeds will always germinate. After all, it remains ‘living’ material and not an industrial mass-produced product.
Plant Your Seeds
The seeds have germinated and are ready to plant. Make sure you have prepared suitable potting soil or another substrate in your (large) container or pot. Light and airy soil is preferred; no black, heavy, clayey earth. Check the packaging of the soil carefully to see if it has already been fertilized! If that is the case, in most cases you do not need to fertilize during the growth and sometimes also flowering.
Moisten the soil before planting the sprout. Plant the bud with the grow tip down to about 1.5 cm max below the surface. Then gently cover it up with the soil. Once the seeds have been planted, make sure there is a light source directly above it (for about 20 hours a day) to stimulate growth. That can just be a simple (daylight) fluorescent tube that you hang about 20 cm above the top of the budding plant. But the best type of (grow) lamp would be is to use an LED grow lamp. Do not forget this! It prevents the seedling’s stems from overstretching once they rise above the soil (in search for light).
It is recommended to use a root growth stimulator (easily available online) at this early stage of growth.
Water management
You will have to keep an eye on this during the entire cycle of growth and flowering. Once the sprouts have been planted, make sure that the soil is and remains moist, but in any case not soaking wet, to prevent the tender sprout from rotting away. Tip: in this early stage use a plant sprayer instead of a watering can to prevent overwatering.
Obviously in it’s baby phase the plant needs just a little bit of water.
How often you water depends very much on the circumstances and conditions. How hot or cold is it? How high or low is the humidity? Large plants logically need more water than small plants. And so on.
A good way to check at a later stage whether or not they need water is to lift the pot regularly to feel how heavy it is. If they are very light, the plants are thirsty for sure.
Another way is to look at the cell tension (turgor) of the leaves: plants that have enough water, the leaves look as they should: tight and not slack (the plant cells contain enough water to keep them under tension). Due to lack of water, they quickly go limp, which is in fact the first step on the way to desiccation and death of the plant.

Nutrients / Fertilizers
Whether you grow indoors or outdoors, giving (organic) fertilizer is important to achieve maximum results. What is a maximum result? That is if you have fully grown and finished female flower buds at the end of the female plant’s life cycle. Stick to the dosage! In any case, don’t go over it. If the soil you use is not pre-fertilised, it is advisable to provide nutrients during growth as well as during (the 4-6 weeks)of flowering. There are different types of (organic) food available for both the growth phase and the flowering phase. Stop feeding nutrients when the plants have about 1 month to go when you use non organic fertilizers, when you use organic fertilizers you can stop 2-3 weeks before harvesting. From that moment on you only give water without any nutrients. That’s called ‘flushing’.
Putting plants in bloom
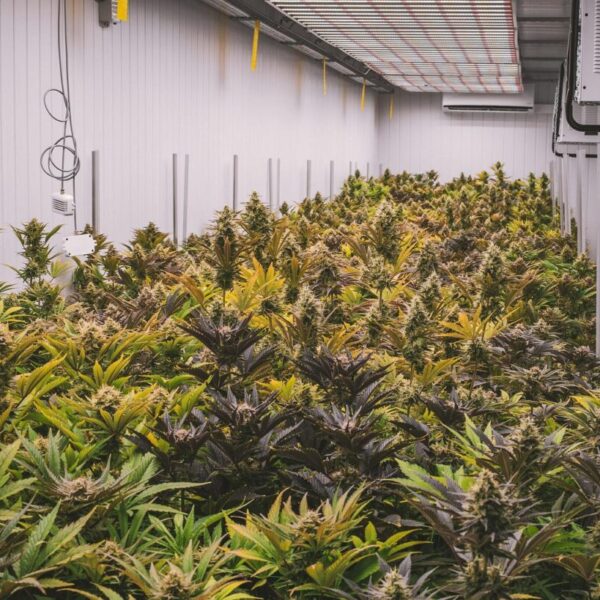
This only applies to indoor cultivation. In cultivation methods that use the sun as a light source (garden, greenhouse), the length of days and nights determines when the plants transition from growth to flowering. If you grow indoors (indoors) with the help of a grow light, you in fact determine the day and night length yourself. During the growth phase, the time schedule is 18 hours of light and 6 hours of darkness. Usually for indoor cultivation a period of 3-4 weeks is used for the growth phase (= vegetative phase). If you want the plants to flower, set your lighting to 12 hours of light and 12 hours of darkness.
After the start of the flowering period you will see that the grow tips change slowly. Hooray, the buds (female flowers) are starting to develop which is always a fascinating sight! This is also the time when the aromas and terpenes are beginning to surface and come forward and the scent increases in strength as flowering nears completion: the smell of success!


Harvesting your crop
You can look at several things to determine if it is time to harvest. The best way is to look at the trichomes (crystals, sugar) on the flowers (buds) with the use of a cheaply available mini microscope. They show themselves as rows of transparent white glands on the sepals with a stem and a ball on top. These are all completely translucent at first, but in the course of flowering they fill with all kinds of cannabinoids. Then gradually they become opaque or non-transparant and then turn to milky white, gold and amber. If a clear majority of the trichomes (glands) show that, it’s time to harvest!
Other indicators indicating that the plant is almost at the end of its life cycle and can be harvested are, for example: discoloration of the large leaves, an overall autumnal appearance and, for example, when the plant hardly absorbs water anymore. Then you know the time has come.
Leave the tops on the stems when cutting. Trim all protruding petals and sepals around the apex to the thickness of the apex. Discard the large leaves (or maybe make a stew out of them) but keep the small cut pieces of leaves! After all, there are still a lot of trichomes on it and it’s a shame to throw that away. You can make a delicious cup of tea with that. Do add a dash of whole milk because cannabinoids dissolve in fat but not in water. Cannabinoids also dissolve in alcohol, so why not soak them in your whiskey or vodka!
Trim your buds carefully and neatly and you will see that the end product of all your efforts has been well worth all the effort and time invested.
Drying your crop
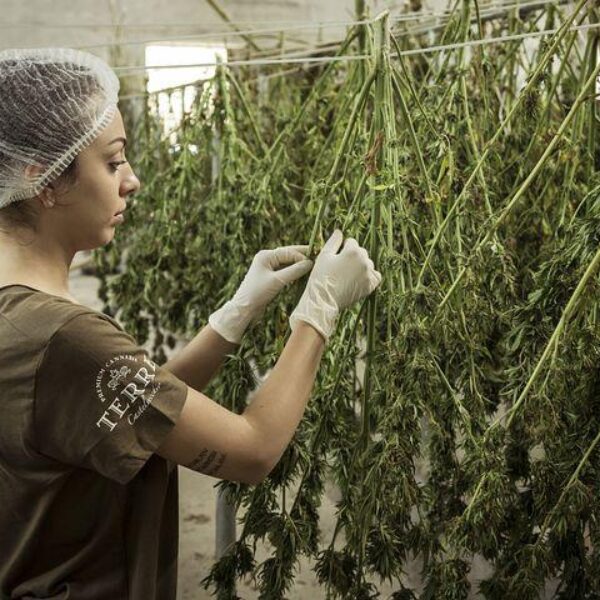
Now it’s time to dry the buds; a tried and true method is to leave the cut tops on the stem and hang them upside down, tops down, in a suitable space such as in the attic, in your tent or shed. It is important for drying that it does not happen too quickly, slow is better, in the dark, preferably at a somewhat lower temperature with average humidity and with some possibility of ventilation. This may take a week or preferably longer. Check regularly if the buds are dry enough. That is if they are not completely dry yet but at about 80% of that. The last bit of drying takes place during the ‘curing’ or riping of the buds.
Curing
If the buds are dry enough for about 4/5, then it is time to start the last phase, namely the post-drying and so-called ‘curing’ or ripening of the buds. Do not underestimate the importance of both (slow) drying and curing! It ultimately ensures that the flavor and terpene profile fully develop.
Cut the tops of the stems and put them in a glass jar with a wide opening and fill it to a maximum of say 3/4. Then close the jar. But every day you take the lid off, shake everything a bit, leave the jar open for about an hour and then close it again. Repeat this process daily until you think ‘that’s enough’, you can’t wait any longer and you want to smoke some!
The buds are dry enough when you hear a slight “crack” from the stem when you break one in half.
Let the great enjoyment begin!

